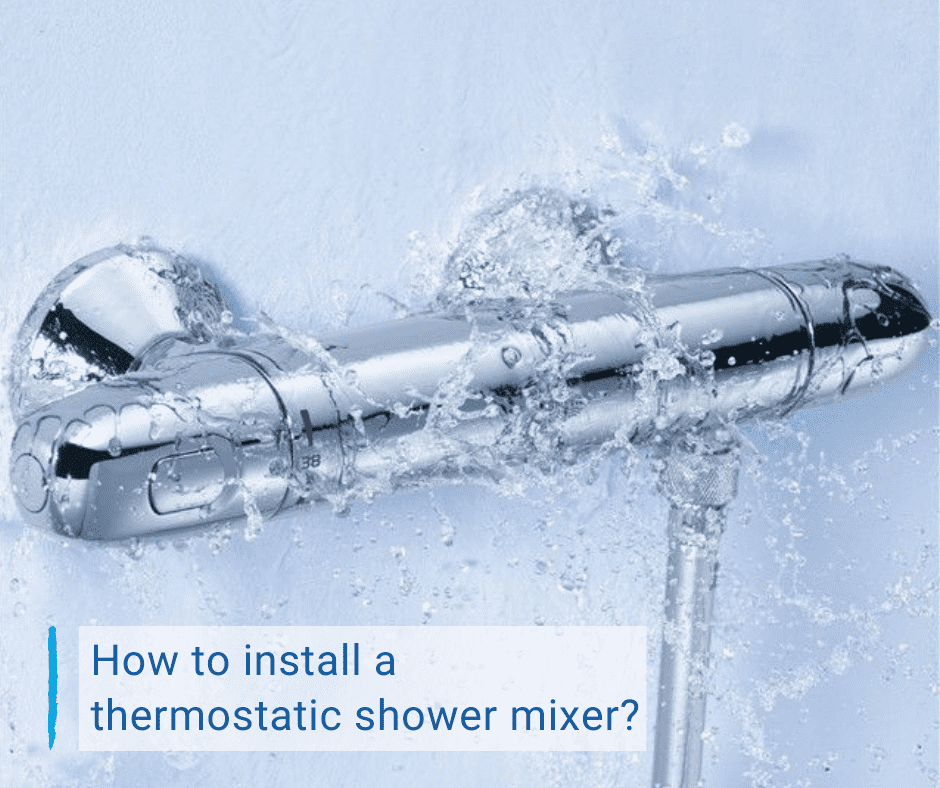
You do not always need a professional for every piece of work in your bathroom. By doing things yourself, you can save a considerable amount of money. To help you out, we will teach you how to install a thermostatic mixer shower. You will find two different ways depending on whether your installation needs some drilling.
Install a thermostatic shower mixer: Material needed
- S Union connectors
- Spirit Level
- Adjustable spanner
- Tap measure
- PTFE Tap
- Silicone
1 install a thermostatic shower mixer: Preparation
- Before dismantling your old unit, make sure that the hot water feed is on the left, and that the cold water feed is on the right. Call a professional if that is not the case.
- Now, turn off the water supply before dismantling your old unit.
- Screw the S union connectors in to your fittings in the wall.
- Screw the escutcheon against the wall.
- Adjust the spacing so that there is 150 mm between the centres of the escutcheons. Verify they are level and adjust if necessary.
- Now, install the mixer and tighten firmly. The nuts must not touch the escutcheons.
- Adjust if necessary and verify horizontal positioning.
- Note the depth between the S union connectors and the wall.
2 Installing the thermostatic shower mixer
- Seal the thread of the S union connector using PTFE tape, wrapped in the tightening direction.
- Tighten the S union connectors with the adjustable spanner.
- Adjust the connectors so that they are 150 mm apart, and the same depth.
- Use the spirit level to check that they are level.
- Apply a silicone seal between the wall and the eccentric connectors.
- Soak your finger into the soapy water and clean around the sealing.
- Now screw the escutcheons onto the S union connectors.
- Remove the red and blue caps from the mixer. Make sure the filter is placed correctly, with the rounded side facing inwards.
- Place the mixer on the S union connectors, without adding any additional seals, then tighten the nuts.
- Check once again the level and adjust if necessary.
- Run the water to check for any potential leak.
3 Adjusting the thermostatic shower mixer
- Make sure the thermostatic mixer is operating properly by checking the temperature.
- Open the water with the handling guideline set at 38°C.
- Use a thermometer to check if the running
water’s temperature reaches 38°C. - If adjustment is necessary, close the water evacuation outlet and remove the cover on the mixer handle using a small flat-head screwdriver.
- Loosen the screw, then remove the handle.
- Run the water, and Adjust the thermostatic cartridge by turning the notched element until the temperature reaches 38°C.
- Put the handle back with the guide on the handle 38°C.
- Screw handle and put the cover back on.
4 Connecting the shower hose
Make sure the seal in the hose is in the correct position and then screw the end onto the mixer. Verify then that the showerhead is operating properly.
How to install a thermostatic shower mixer with drilling work
- First of all, turn off the water supply
- Then measure the distance between your pipes and make sure they are 150 mm apart. Use a pipe guide to hold the pipes in position.
- Now using a pencil, mark holes for drilling.
- Remove the pipe guide and cover the tiles with masking tape to prevent the drill from slipping.
- Make sure hammer action is turned off on your drill, and start drilling.
- Once you are done, remove the masking tape.
- Now place the plugs and tap them 2 to 3 mm into the tile to avoid cracking.
- Now put the wall brackets into place and mark the end of the pipes. (Mark slightly back from the line to allow for the filter washer).
- Now use the pipe slice to trim the pipes.
- Tighten to create a seal and fit the covers.
- Use a screwdriver to tighten the setting.
- Using an adjustable spanner, adjust the covers to ensure they are level.
- Once adjusted, fit the sealing rings, and flush the system to check for any leak.
- Now, put into place the concealing plates and the filter washers.
- Tighten the set with the adjustable spanner and check the level once again.
Now you know how to install thermostatic mixer shower yourself. Feel free to leave a comment if you have any enquiry about the method or any suggestion you feel worth sharing.


Good article.
I definitely love this site.
Thanks!
It’s not my first time to pay a visit this web
page, i am
browsing this web site dailly and obtain good data from here everyday.