Picture this: you want to change your bathroom or kitchen decoration, and decided to start by redoing the paintwork or putting on new tiles. But then, you remember one thing. You have to remove your old tiles first! Do not worry if you are not an expert at tinkering, a little resourcefulness and athleticness are all that you need here. We are going to guide you through our best techniques on how to remove tiles!
Choose the right equipment
For this task, you will need the following tools: a hammer, a grinder, a rubber mallet, and a chisel.
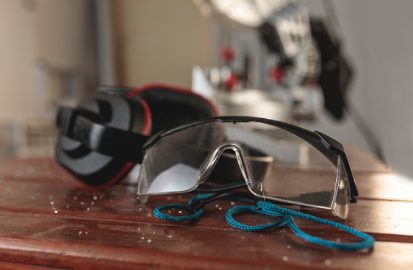
We also advise you to protect yourself with safety glasses, protective gloves, a mask, eaplugs and clothes that cover your body. Be ready to have a trash bag and a broom or a hoover, for this operation will create dust and debris.
Where to start?
The easiest place to start will be a poorly bonded tile. You can find it by taping on your tiles, the one that rings hollow is less glued than the others. It will be simple to separate it from the rest, and create an opening to remove the rest of your tiles.

After that, you will have to weaken the joints of your chosen tile. For that, you can either use your grinder on the joints surrounding your tile to cut them, or use your chisel and your hammer to fracture them. It is also possible to use a scrapper to get rid of the joints, but it will be much longer.
Once you have done away with your joints, you need to break, pierce or cut your tile, so it is easier to remove.
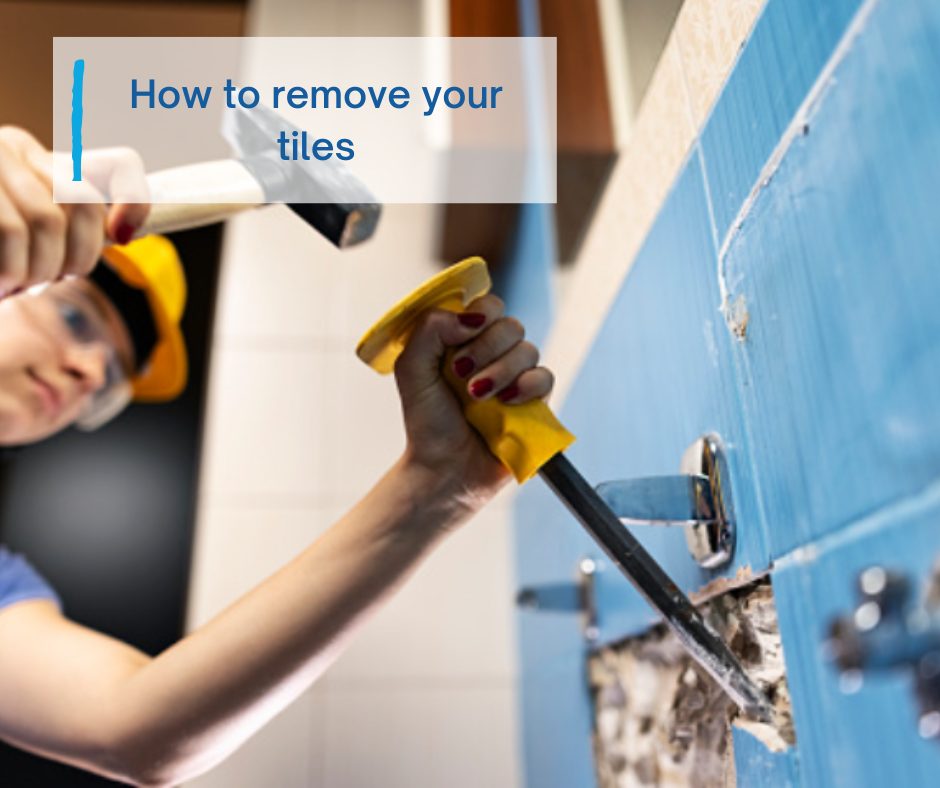
It is now time to take off your first tile. Take your chisel, and place the tip at the side or inside a hole in your tile, while tilting it a little bit. With your hammer, hit gently the top of your chisel and remove your tile piece by piece. You can also remove it without breaking it, if you have correctly severed the joints before.
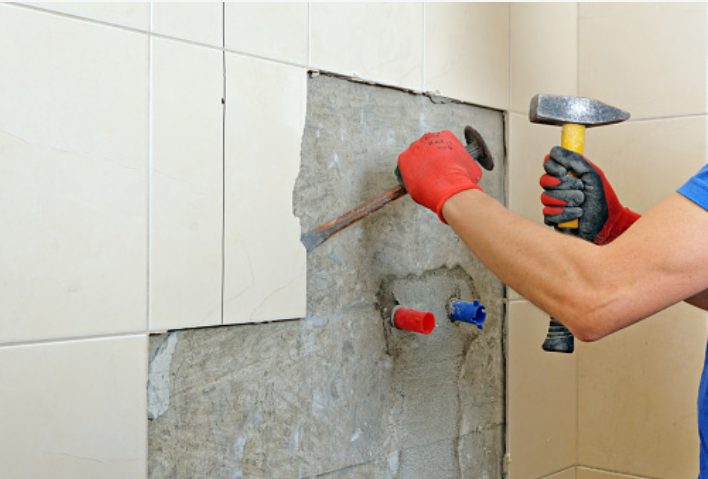
After the first tile, you can just place the tip of your chisel below the tile next to it, and to the same operation to remove it. Keep on doing it until you have taken care of all your tiles.
What should you do after removing your tiles?
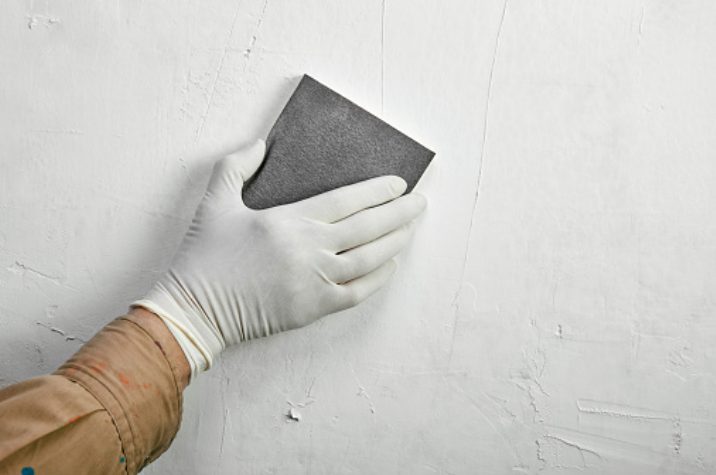
After removing the tiles, there are often remnants of glue on the wall or on the floor. In order to take it off properly, use your chisel or your scrapper, but be careful of the coating below it. Then, you must repair the potential cracks that could have been created during the process, with a surface coating for example. It will also protect your support against future renovations. After that, smoothen your wall or your floor by sanding then. Make sure your surface is very flat, with no rough edges. If there are any, it will be difficult to install your future tile, painting, tapestry, or other.
Now that you have completed removing all your tiles, you can decorate your bathtoom! Do not hesitate to take a look at our article on how to choose your paint in your bathroom!