
For most people, painting their bedroom or living room could be perceived as an enjoyable task. It is often considered as the first step of personalisation, as homeowners can express their creativity. In addition, they can add a personal touch to their nest. The same goes for painting a bathroom. But how do you paint a bathroom?
Obviously, it is not comparable to painting a bedroom or so. Unlike any other room, it requires special attention from the colour as well as the quality of the paint. As heavy use of different sources of water awaits for the bathroom, mold inhibiting paint could be required. Here are some tips for you to improve your knowledge of how to paint a bathroom.
1. Choose the right paint

As mentioned earlier, the bathroom is a room that is exposed to wet a lot. As so, it may require the use of a specific mold-inhibition paint that enhances the surface moisture resistance. Even if this kind of paint is not necessary, it does not mean that you have to orientate your purchase to a cheap paint brand. You do not want your bathroom to start peeling after a few months. Even if some budget paints might have the same pigment make up as the more expensive ones, they however, have more solvent and are less dense.
To give an example, paint with 60% volume solids will cover 12m2 per liter, while a paint with 40% volume solids will cover only 8m2. Once dry, this solid will form the protective acrylic-latex layer on your wall. This layer will considerably increase durability. Hence, for your bathroom, it is necessary to choose a more solid paint.
2. Choose the appropriate colour
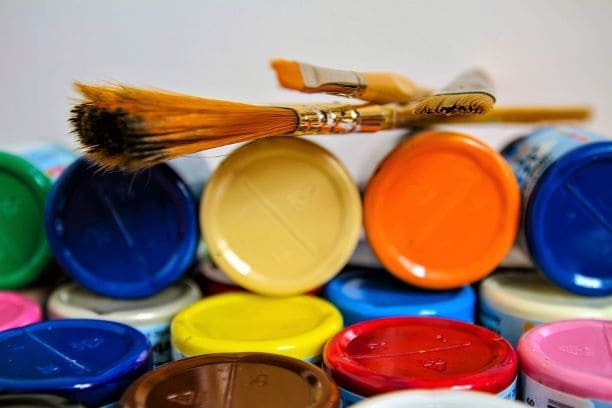
Referring to our article on how to make a small bathroom look bigger, the use of dark colours could give the illusion of a shrunk space. It does not mean that you have to go for the classic white colour so commonly used. You can still extravagantly paint a bathroom with a large panel of bright colours. As examples, light-blue, light-pink, or light-yellow could be a match. Keep in mind that, whatever bright colour you use, it will always improve the space than if it were filled out in a dark colour. Also, glossier finishes will always reflect more light.
Now, if you want to paint your bahtroom with dark colours, it can still be quite charming. However, to avoid the illusion of shrinking space, applying other elements, such as extra lights, could be required.
Whatever your choice might be, do not hesitate to purchase samples and test the different shades in the actual space and try to look for a shade that will complement the hallway or the room nearby.
3. Remove everything that gets on your way
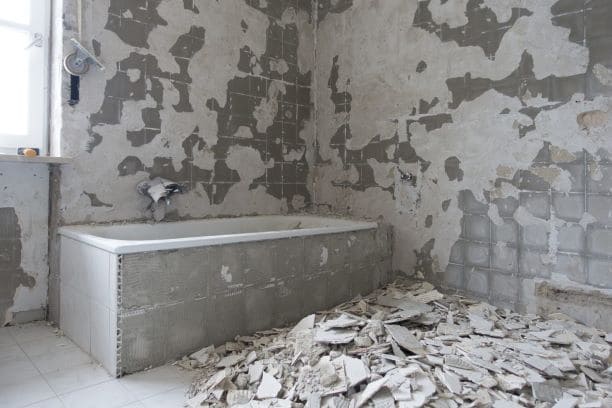
Before you start painting, clear out everything that could get on your paint job. Hence, remove shelves, art, towel rails, and any other type of accessories. For the rest, cover the areas that you don’t mean to paint. Also, as it is tricky to paint around the toilet tank, it would be easier to remove it. Although it is possible to apply a painter’s film mask to avoid the mess, it is still simpler to remove it entirely. If you are not familiar with this action, it might sound complicated, but it is relatively easy. Only two steps are required: the removal of the top tank and the lower seat. To extract the tank, first, turn off the water supply, then flush the toilet to expel all remained water, and finally remove the tank.
4. Clean the future painted surfaces before the paint job
Do not neglect the cleaning process as paint cannot adhere to a moldy or dusty surface. To clean the wall, use 1 third of bleach and two-thirds of warm water.
5. Fill any holes or crack
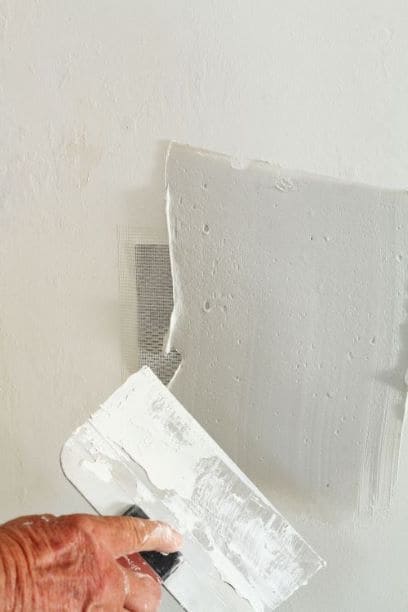
To spot all the areas that need patching, light up the wall, then use a putty knife to patch with filler or drywall. Let it dry for 6 to 24 hours, depending on the product.
6. Start painting your bathroom!
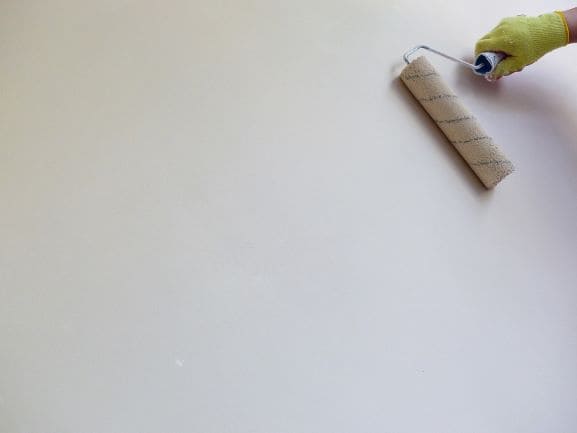
Once everything has been cleared out and the surface is ready to be painted, place a drop cloth on the floor and around the bath fixtures to protect them. If repairs were needed or if you attend to a drastic colour change, prim the walls with the following technique: cut in the edges with a brush first, then use a roller to paint broader areas. For the roller, paint square areas of about two by two feet with a W-shape and fill the blank parts afterwards. Do not hesitate to tape off trim if you are not feeling confident with cutting in along the edges.
When dipping the roller into the paint, roll it over the tray to remove any paint surplus and avoid the mess. If you choose a glossier finish, keep in mind that it will highlight every imperfection. So, be thorough while painting.
After you have applied the first coat, let it dry for approximately four hours before the application of the second one for better results. For the second coat, use the same technique as for the first one.
Now, wait 24 hours for the paint to be completely dry and then put back into place the items that you had removed.
Hopefully, these tips were helpful to you. Do not hesitate to share with us any information we might have forgotten in this article.
One thought on “How to Paint a Bathroom?”