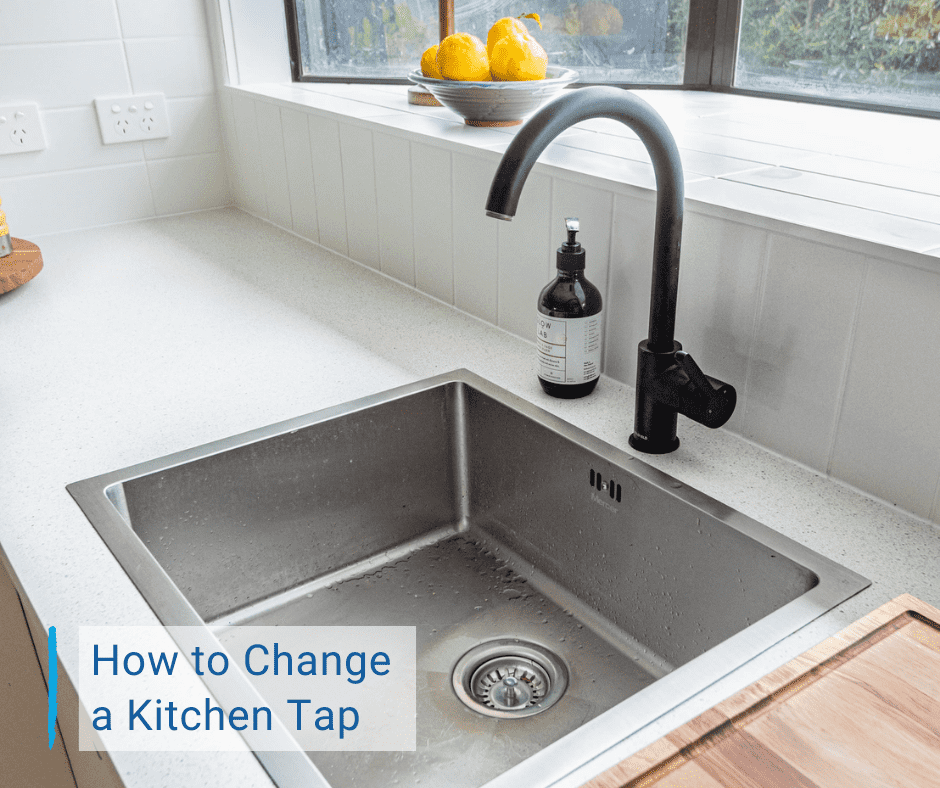
Do you know how to change a kitchen tap? If you don’t, you should read this simple instruction showing how to change a kitchen tap in less than an hour. It’s easy and everyone can do it!
Taps plumbing systems may vary between different brands of kitchen taps, but the basics on how to change a kitchen tap are generally all the same; it’s not rocket science. So let’s get started…
What you need
Most of the taps come in a kit with all the parts you will need. However, I preferred to buy these flexible easy fit hoses tap rather than using the ones I got in the kit.
The tools you will need to change a kitchen faucet are:
- Two spanners for opening and to tightening the nuts.
- Teflon tape. This is important to seal the threaded joint connections preventing leaks.
- Screw gun or screwdriver.
Step 1: kitchen tap preparation
The most important thing is to turn off the main water supply. Then, remove all shelf contents and cover panels for easy access to the pipes. In some houses, like mine, there is a water valve for your hot and cold-water supply from the boiler and the attic tank. After closing the main valve, turn off the hot water valve from the boiler too.
Step 2: dismantling pipes and sink
- Start by dismantling the drain pipe connected to the sink. Before releasing the pipe, place a bucket under the pipes for draining leftover water in pipes.
- Next, open the hot and cold water pipe connections. Every plumbing system is a bit different. In my case I had to disconnect the pipes from both sides, in order to be able to lift the sink and faucet out.
- If your sink has connectors under it, release them with a screw gun. After that, push the connectors back and lift the sink out. Then, release the old tap with a spanner.
Step 3: assembly of the new tap
Next are the steps for the assembly of the new kitchen tap, so here we go:
- Firstly, connect the sink/tap threaded rod.
- Then, place a rubber o ring on the round slot.
- Next, slide the rubber spacer on the threaded rod.
- Connect one flexible hose and slide the plastic spacer over the threaded rod.
- After that, slide into the sink hole and connect the second hose.
- Fasten both with a spanner, but not too tight (use Teflon tape if needed).
- Slide the metal securing plate into place and tighten the nut. Tighten the nut with a spanner to secure the new faucet on to the sink.
A few steps left…
- Obviously, connect back the old pipes to the main water pipes. Use Teflon tape around the threaded joints to prevent any leaks.
- Connect flexible hoses to the main water pipes. Use Teflon tape again.
- Make sure the rubber o ring is in the nut placed correctly before tightening. Then tighten using two spanners.
- Secure all sink counter fasteners into place and connect back the sink draining pipe.
- Turn the main water supply and the hot water valve from the boiler on, and check that all connection joints are not leaking.
Now you have successfully changed your kitchen tap. Congratulations! We hope you liked the article. Leave a comment to tell us if you would do the same or if you might change some steps! Is your bathroom tap leaking? Read our article about how to change a washer on a mixer tap. Good luck!