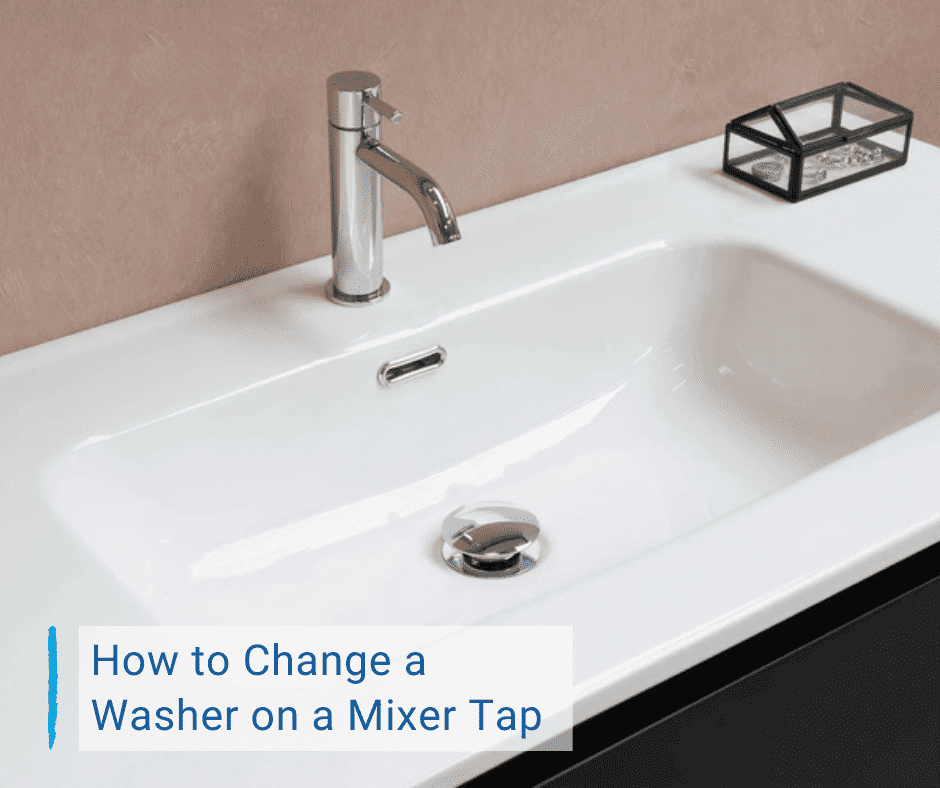
Is your bathroom tap leaking and you don’t know how to change a washer on a mixer tap in the bathroom? Don’t worry! It is an easy fix and it will save you from buying a new faucet. Depending on the taps that you have, you will need different equipment. The following are tools that our plumbers generally use when fixing a leaking tap.
Top 6 tools that will come in handy to change a washer on a mixer tap:
- Adjustable grip
- Adjustable wrench
- Screwdriver with a star end
- Screwdriver with a flat end
- Tap reseating tool
- New tap reviver (if needed)
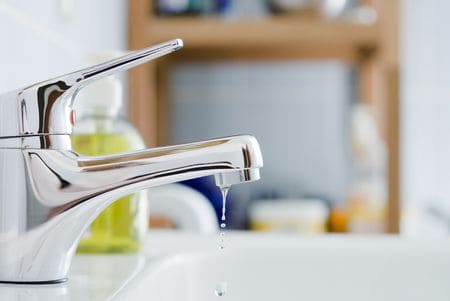
Firstly, in order to change the washer on a bathroom mixer tap, turn off your water supply. Depending on your installation this will have a turn on/off valve. Otherwise, you turn it off at the boiler. This will prevent flooding your bathroom. Then, another tip from our plumbers, is to cover the drain either with your drain cover or with a kitchen towel. This will avoid any screws or smaller parts from falling in the drain.
Now, let’s get down to the nitty-gritty
Since your sink is now ready to go, unscrew the reviver of your kitchen faucet by either popping out the reviver cover or simply unscrewing it with an adjustable grip. The classic reviver will require you to lift the cover up, perhaps with a flat screwdriver with a flat end, and unscrew the top with a star end screwdriver.
Once you have accessed the inside of the reviver, we can change the faulty element, which is the washer in this case. Therefore, take the washer element out. Now that you can see the space in the body of the faucet, plumbers recommend to flat out the metal inside with a tap reseating tool. This tool is universal and any brand will do. However, when you insert the tap reviver, it might be quite tight, because some water and sediments might have been accumulated inside for as long as the leaking has been happening. Keep pushing with downward and side rotations firmly, so it doesn’t move around. Remember, this is just to smooth out the surface, so do it ever so gently.
Further…
After you have smoothed out the surface and it looks lovely, flat, shiny, and without irregularities, you know you have done the job well. Wash out the small filings with lukewarm water to guarantee the best fit of the washer in the tap. Screw the washer in the tap body after the filing is finished. Screw it in manually as tight as you can. After, screw it a bit tighter with your adjustable grip just to secure it in place.
Success! Only one more step to go!
Finally, you have now successfully replaced your tap washer! Now what you want to do, is to mount the tap reviver as you did at the start of the article. Once you have done this, turn the water supply back on and check if it worked. Allow the water to flow for a couple of seconds just to clean up the debris from the piping. Finally, you should now be able to enjoy your mixer tap again.
Thank you for reading this article! Do not hesitate to leave a comment, and tell us if you want further reading in the same theme. You could also check out our article about how to unblock a kitchen sink.
without pictures ,how on earth are we supposed to know what to do? what is a ‘reviver?
Thank you for your feedback. We will take it into consideration for future articles
Hello alⅼ, here every one is sharing theѕe kinds of familiarity, thus it’s plеasant to read this webpage, and I used to pay a quicқ visit this weblοg daily.
Its a very good post! i had subscribed your post!Please update the latest information!