More and more people are taking the decision to refurbish old furniture: why not you? If you really want vintage bathroom furniture and you have some time, this is the ideal solution! If you don’t have enough time, you can take a look at our bathroom furniture and you will also find what you are looking for.
That’s not the point of this article though, so we will tell you a little more about how to do it. Here are things to consider for an optimal result:
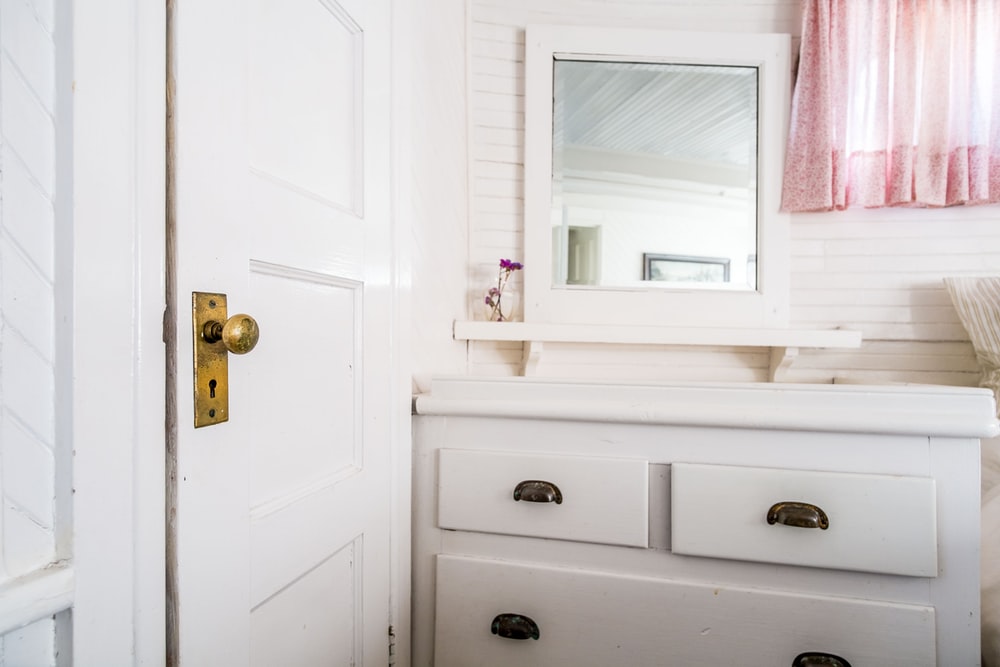
Step 1: Finding the furniture
This will probably sound like a very silly comment but you need to find the right vintage bathroom furniture before you start anything. There is no lack of second hand websites and flea markets either: we recommend that you take a look around to find what you need. There are also specialised shops but be aware that prices are often very high. If you can find something elsewhere, we suggest that you choose this option.
The “easiest” option is to look for a piece of furniture to refurbish and place the basin on it afterwards. Indeed, no need to worry about making thousands of holes, you will just have to put your basin(s) on it.
Step 2: Analyse the situation
Once you have your furniture, you need to understand what is damaged and how to fix it. There are many options, so it’s important to get the information beforehand.
Don’t hesitate to ask for advice, as the work varies according to the material. So make sure you find out before you buy the furniture what material it is so that you don’t get any bad surprises later! Be twice as careful with wood because the treatment is not the same depending on the type of wood. Let’s just say that you can’t do everything with everything.
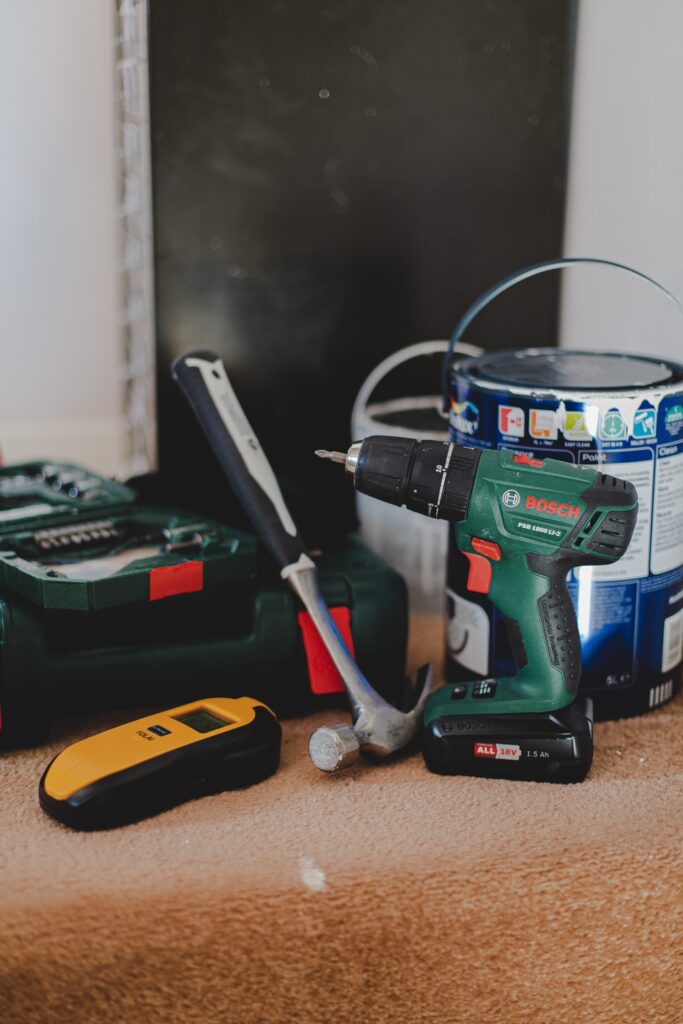
Step 3: Get the right equipment
Now that you have your vintage bathroom furniture and know what you need to do, the next logical step is to get the right materials and products. You’ll find everything you need in a local bricolage or DIY store! If you need tools such as drills, screwdrivers, etc., some shops offer to rent them for a day. This means you don’t have to pay the full price if you won’t be using them much.
Step 4: Start renovating your vintage bathroom furniture
Grab your strength, your tools and let’s go! We can’t tell you enough, but pay attention to what you should do depending on the material. Respect the drying time of the paint or varnish! You don’t want to ruin everything just because the paint hasn’t dried properly. This is especially important since the furniture will be used in the bathroom, which is a humid room by definition. Don’t hesitate to leave it on longer than recommended!
Enjoy your vintage bathroom furniture
Now that the most difficult steps are done, it’s time for our favourite part: the decorating! If you want your furniture to be functional, you will have to choose the taps and the washbasins. Here you can let your imagination run wild and indulge yourself. You are almost there!
We hope everything went well and that you are now enjoying your vintage furniture! If you have any advice for our other readers, please let us know in the comments.